You can adjust the viewing angle and position in the geometry window using the view tools on the toolbar.
Initially, the geometry window is in  Rotate mode, and you can rotate the view
by dragging the mouse in the window while holding down the left mouse
button. Clicking on the
  Pan toolbar button changes the behavior so
that dragging slides the viewpoint from side to side. The button for
the active mode is highlighted on the toolbar, and the cursor in the
window will also match the mode icon.
You can zoom in to see details on the workpiece by clicking on the
 Zoom In button or by
typing Ctl-Up. You can zoom out to see more of workpiece by
clicking on the
  Zoom Out
button or by typing Ctl-Down. The
  Zoom All button adjusts the view position
and zoom level so that the entire part is centered and fits in the
window. Finally, the
  Center On Tool button adjusts the display so that the current
toolpath position is centered in the window.
The other modes on the toolbar are for selecting geometric
items. Depending on the mode, left click of the mouse will  Pick Bodies,
  Pick Faces, or
  Pick Edges. The last mode is used to
 Move Tool to a new
location by picking a point on a toolpath.

 The
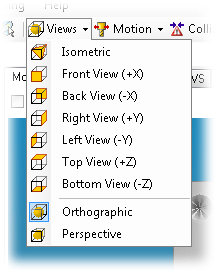
The  Views toolbar menu
has a list of predefined views, so that you can quickly align the
geometry display to coordinate axes. The Top and Bottom
views align the display to the Z axis. The Front and
Back views align the display to the X axis. The Left
and Right views align the display to the Y axis. Finally,
the Isometric view aligns the view so that the angle between
the projection of any two of the coordinate axes is drawn as 120°
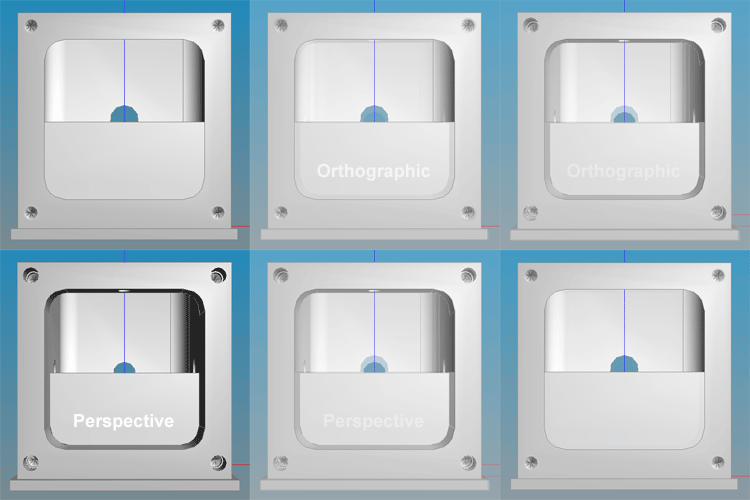
In addition, you can choose whether you would like things displayed using a Perspective or Orthographic drawing style. With the perspective drawing style, parallel lines appear to converge in the distance, while in an orthographic style, they remain parallel. The orthographic style makes it easier to visually compare the size of things at different distances from your viewing location.