Overview
The STEP Node Native Addon provides high-level operations to create, manipulate, and simulate digital thread models. This is part of the Digital Thread Web Interface.
The sample programs below will show you how to import CAM data from Siemens NX and build complete digital thread models using STEPNode.
NX Import
The NX translator reads CLS files produced by Siemens NX CAM and converts them to STEP-NC models for use on the digital thread. This translator program can be customized as desired to enhance it with your own semantics or to integrate data from other sources, like CAD models for your tools, raw stock, or final workpiece.
Run the program with node and give the CLS data as a command line argument. It will process the file and save it in your current directory with the "_thread.stpnc" ending.
For example, we can import the NX CAM process shown below.
>node nximport.jsdata/coremill.cls
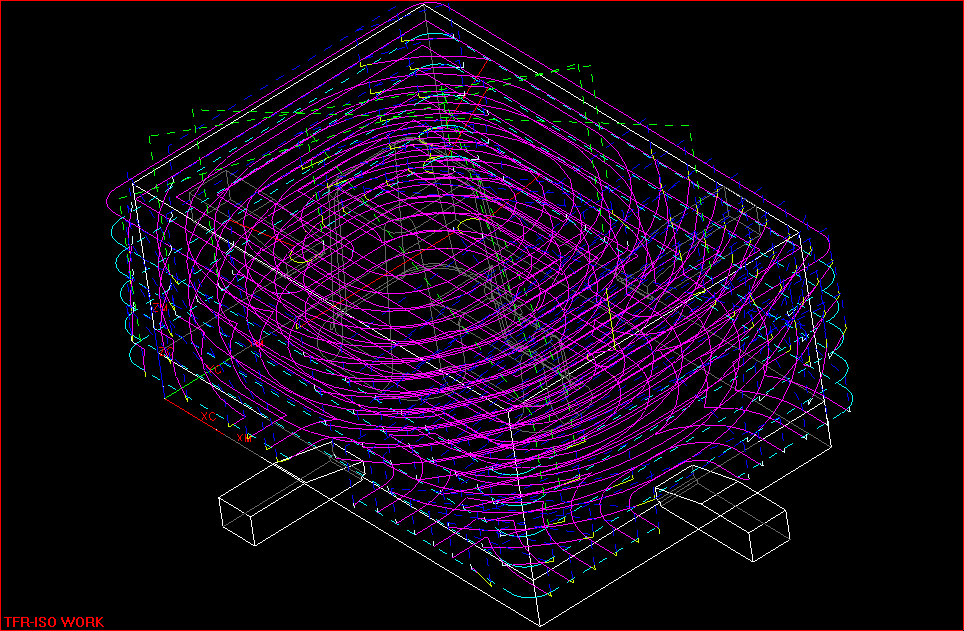
This will produce a `coremill_thread.stpnc` file containing the
path data and a simple tool definition. We can read this into the
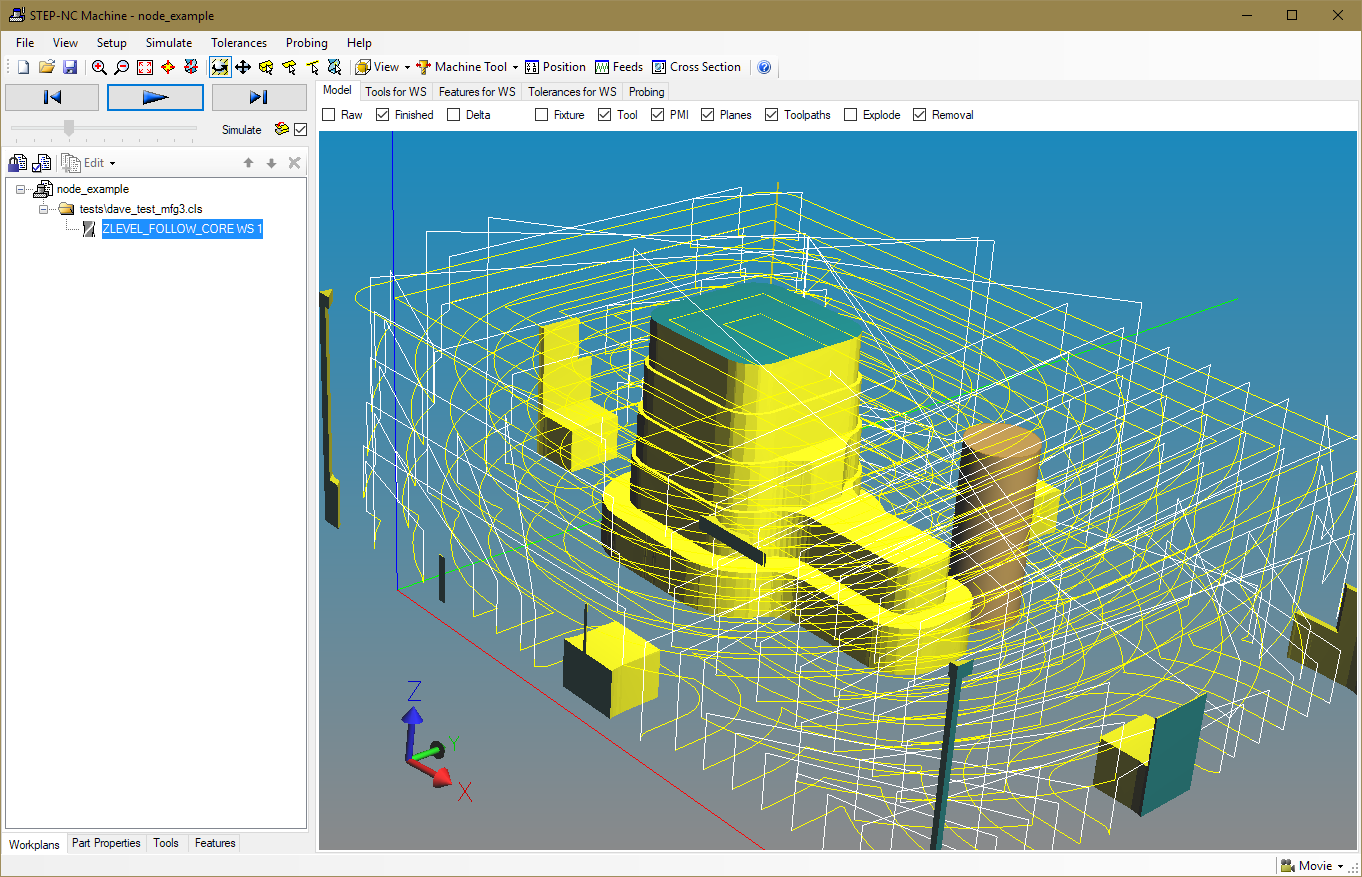
STEP-NC desktop tool and simulate it if we add a rawpiece definition.
Here we simply box the toolpaths by right clicking on the main
workplan and selecting "Rawpiece | Create Initial (As-Is) Shape ..."
then select the "Toolpath" envelope. After simulation we get the
following:
Assemble Thread Model from NX
The buildsimple.js program shows how we can extend the
translator to add in CAD models. We call the translator code and then
attach the as-is and to-be CAD models. We have placed the translator
code in the ParseNX.js node module for easy reuse.
apt.NewProject(simple);
apt.Millimeters();   // default to millimeters

// Read CAM process
ImportPaths(data/simple_block.cls);

// Read workpiece and rawpiece geometry as STEP
apt.Workpiece(data/simple_block_workpiece.stp);
apt.Rawpiece(data/simple_block_rawpiece.stp);
apt.SaveAsModules(simple_example);
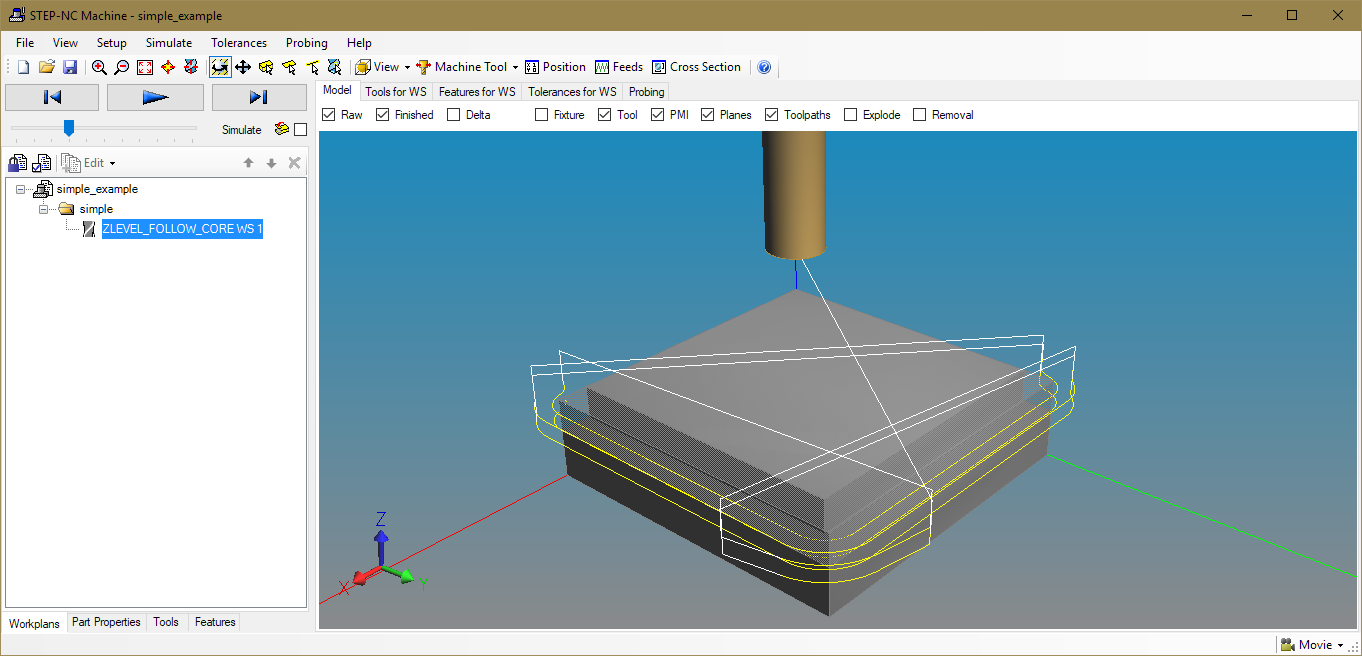
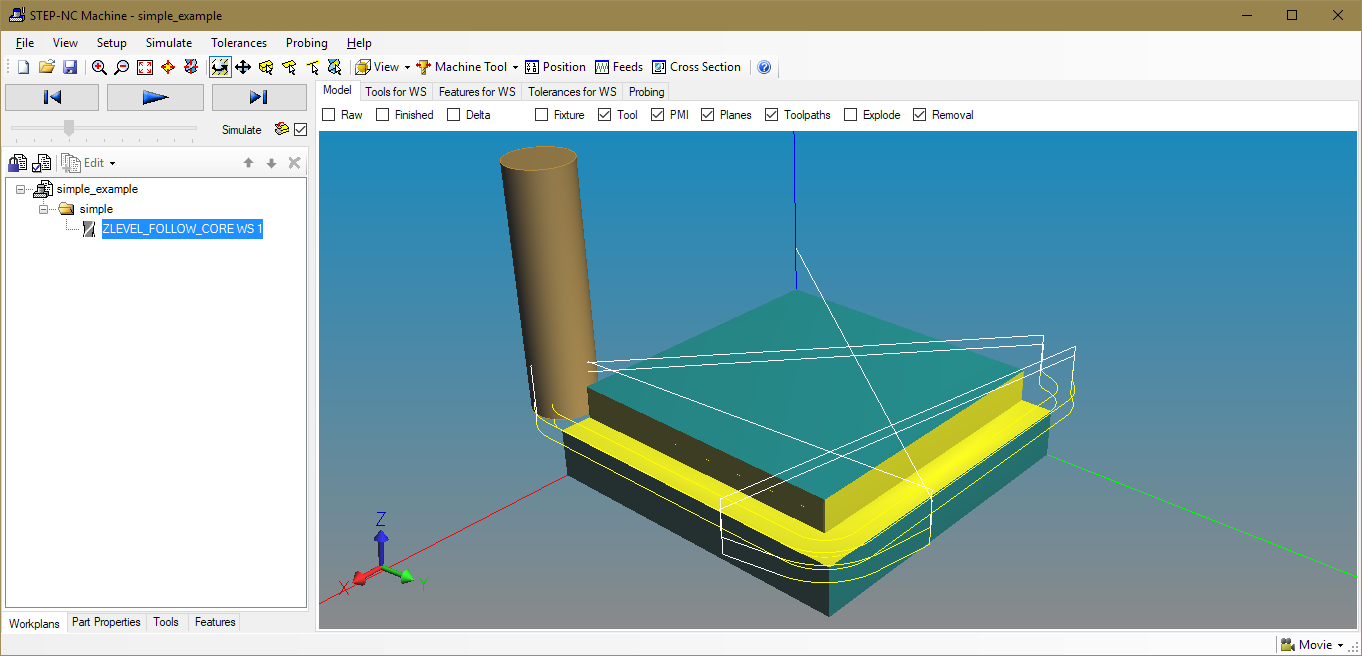
With the CAD model for the stock, there is enough information to
immediately simulate the process, which produces the following:
Assemble More Complex Thread Model
The buildfull.js program shows a more complex example,
which defines tools, brings in CAM process from several files, adds a
CAD model for the final shape, generates a box model for the starting
shape, and defines a fixture model.
apt.PartNo(Sample part); // Define a tool apt.Millimeters(); apt.CamModeOn(); apt.DefineTool(0.25, 5.0, 1.0, 2.0, 3.0, 4.0, 5.0); // Read the first program ImportPaths(data/Plane_1.cldata); // Define feature and operation let ws_id = apt.GetCurrentWorkingstep(); pro.PlaneFinishMilling(ws_id, 0, 3); apt.SetName(ws_id,First planar facing operation); // Read the second progra ImportPaths(data/Plane_2.cldata); // Define the feature and operation ws_id = apt.GetCurrentWorkingstep(); pro.PlaneFinishMilling(ws_id, 0, 3); apt.SetName(ws_id,Second planar facing operation); // Read workpiece geometry as STEP apt.Workpiece(data/hole_model.stp); // Make geoemtry for Rawpiece let wp_id = apt.GetCurrentWorkplan (); apt.MakeRawBox (wp_id, -50, -25, 0, 50, 25, 31); // Make some geometry for cutter let tl_id = apt.GetCurrentTool (); pro.SetToolLength(tl_id, 100); apt.SetToolIdentifier(apt.GetToolNumber(tl_id),My Cutting Tool); apt.GenerateToolGeometry(tl_id); pro.SetToolOverallAssemblyLength(tl_id, 80); apt.Fixture(data/vise.stp); let fixture_id = apt.GetCurrentFixture(); apt.PutWorkpiecePlacement(fixture_id, 0, -25, 41.5, 0, 1, 0, 1, 0, 0); apt.SaveAsModules(full_example);
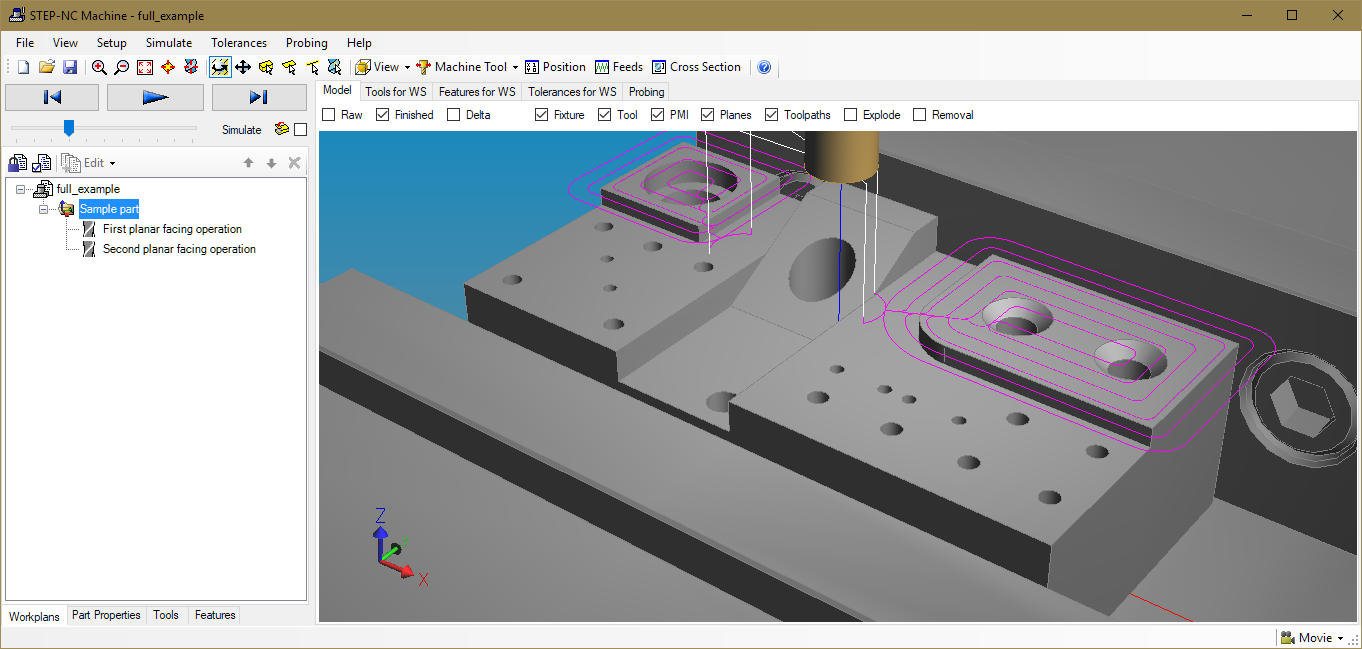
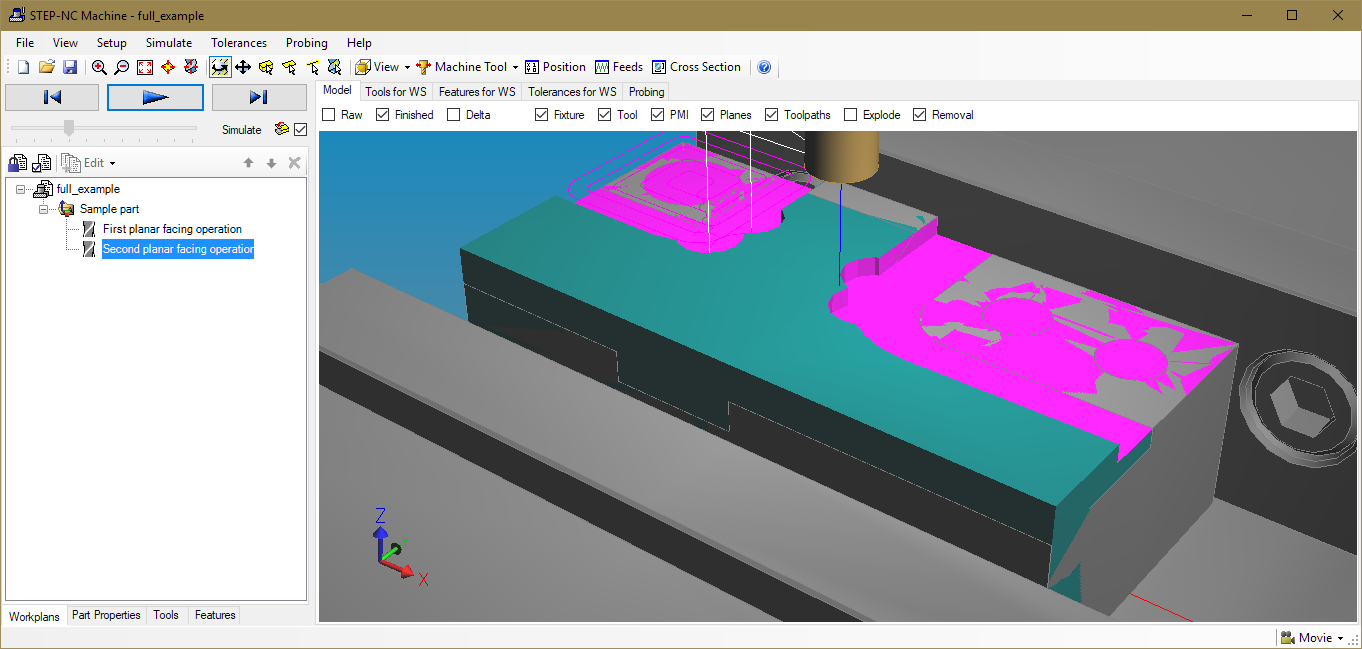
This digital thread model also has enough information to
immediately simulate the process, which produces the following:
